
This checklist is a guide to use alongside the Vendor 1099 Processing manual, which provides detailed information.
Any questions regarding these procedures or the processes involved with Vendor 1099s and Calendar Year End should be directed to the Support Helpdesk.
PowerSchool Community Website Link: PowerSchool Community Welcome Guide
The recommended timing for processing 1099s and clearing the 1099 buckets is as follows:
-
Review 1099 Vendors / Payments
-
Create 1099 Work File / Maintain 1099 Work File
-
Review 1099 Edit Files / Update 1099 Work File as needed
-
Clear 1099 / 2025 YTD and PREV YTD Buckets
-
Begin processing 2026 Checks / Print 1099s
Batches for January 2026 can be created in Batch Accounts Payable, provided they are not released or posted.
PowerSchool recommends completing backups at specific steps during Vendor 1099 processing. For hosted customers, a nightly backup is completed and available if needed.
Read the entire document before performing the actual processing steps.
Perform the following procedures in sequence to complete the Vendor 1099 Calendar Year End process.
1. Process Accounts Payable Batches
Process accounts payable cashable checks and EFT payments that are to be dated for the current calendar tax year before processing any accounts payable checks to be dated for the new calendar tax year.
-
The 1099 Information tab on the Vendor Information page is updated with the value of payments processed when the user confirms that checks and vouchers have printed correctly.
-
Process/record manual accounts payable payments (checks and EFT payments) and voided payments associated with the ending tax year as well.
-
If the go-live date is in 2025, ensure 1099 Vendor YTD Transactions have been imported or entered into the Prev field on the 1099 Information tab on the Vendor Information page.
2. 1099 Box Codes
Use the 1099 Types page to define and manage the valid 1099 form box codes that can be assigned to vendors. It serves as a reference/lookup table (t1099) that controls which 1099 box codes are available when setting up vendor records.
Menu path
From the Fund Accounting menu, select Reference Tables. From the Reference Tables menu, select 1099 Types.
On the 1099 Types page, refer to the 1099 Types Table, and verify that applicable 1099 Box and Form codes have been entered.
3. Verify Vendor Records
Use the Vendor Information page to create, maintain, and manage vendor master records. It serves as the central repository for all information about vendors/suppliers with whom the organization does business.
Menu path
From the Fund Accounting menu, select Reference Tables. From the Fund Accounting menu, select Vendor List.
On the Vendor Information page, refer to the Vendor Information Page, and verify that vendor records are coded correctly with 1099 Box and Form codes.
-
Vendors that are to receive a 1099 should have data in the Federal Tax ID and Accounts Payable Address fields.
-
No changes have been made to the vendor 1099 Information tab regarding the NEC form changes.
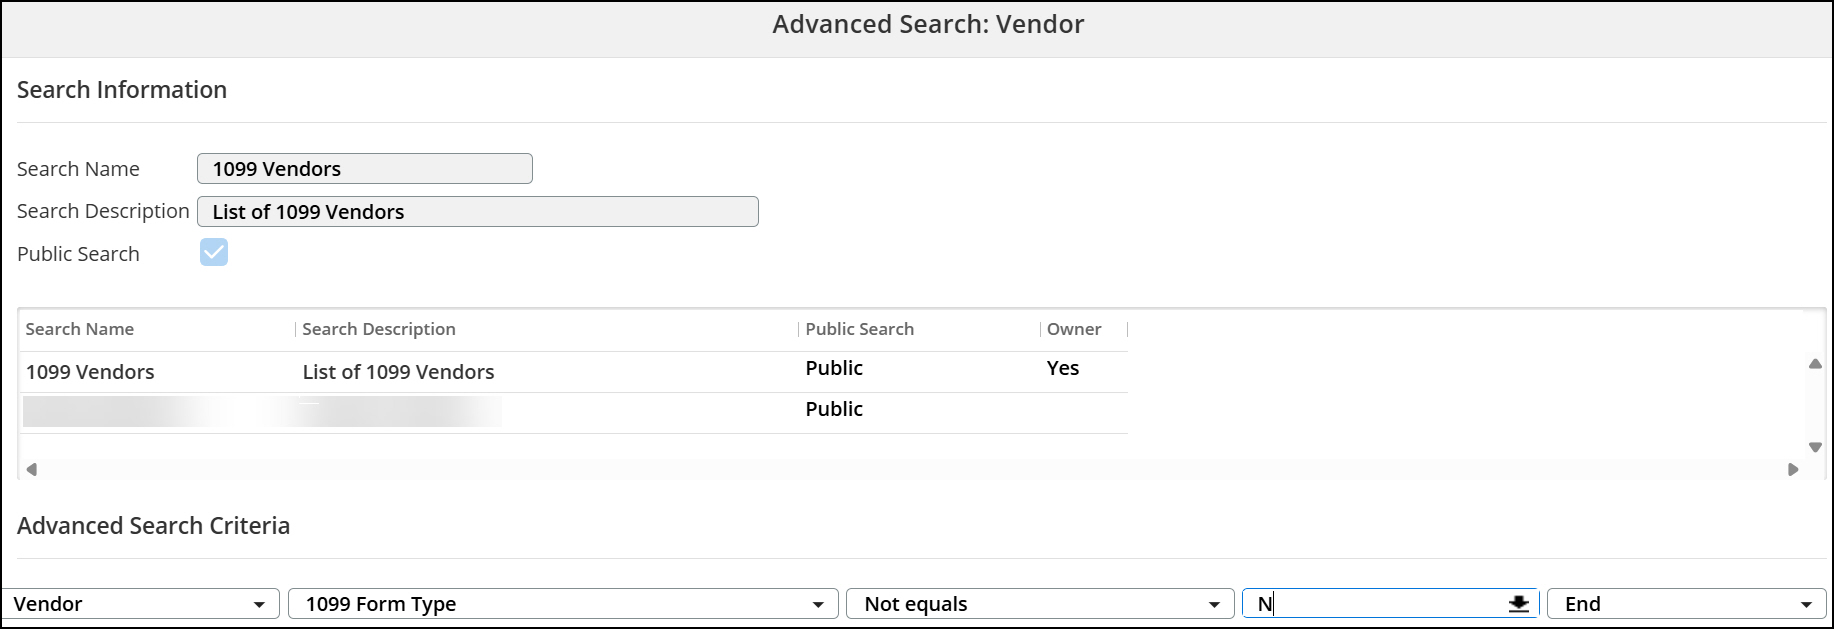
Create an Advanced Search in the Vendor Table to review the 1099 Vendor List, as shown in the following image.
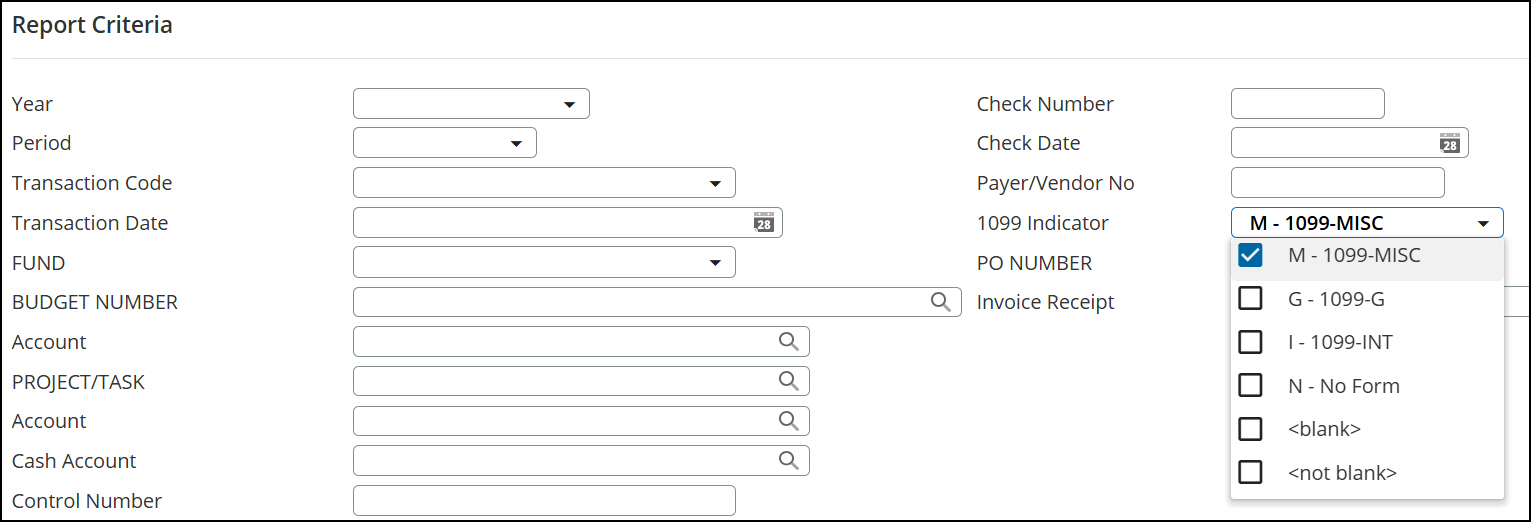
To verify that payments were coded correctly, run the Expenditure Transaction Analysis report using the 1099 Indicator search criterion.
4. Modify 1099 Transactions
Use the Modify 1099 Transactions page to change the 1099 type classification on vendor transactions for IRS reporting purposes.
Menu path
From the Fund Accounting menu, select Periodic Routines. From the Periodic Processing menu, select Modify 1099 Transactions.
On the Modify 1099 Transactions page, refer to Modify 1099 Transactions, and update the 1099 flag on processed vendor checks as needed. The vendor’s 1099 amounts are updated when the change is confirmed.
This option should be used only for checks dated during the current tax calendar year.
5. Ensure Federal Tax ID or Social Security Number is Present on the Vendor Record
Menu path
From the Fund Accounting menu, select Reference Tables. From the Fund Accounting menu, select Vendor List.
On the General tab of the Vendor Information page, ensure that all vendor records have a Federal Tax ID in the Federal Tax ID field or a Social Security number in the Social Security Number field.
Create an Advanced Search to identify vendor records with a 1099 form type to review the Federal Tax ID and Social Security Number fields for accuracy.

6. Set up Main 1099 Parameters
Use the 1099 Setup page to configure the payer (employer/organization) information needed to generate IRS Form 1099 forms.
Menu path
From the Fund Accounting menu, select Periodic Routines. From the Periodic Processing menu, select 1099 Processing. On the 1099 Processing page, select Setup Main 1099 Parameters.
On the 1099 Setup page, refer to Setup Main 1099 Parameters, modify or create the Main 1099 Parameter record, and update the Tax Year to the desired tax year.
Verify all fields for accuracy. Refer to IRS Publication 1220, Part A, Section 12 for information on the Federal/State Filer option.
7. Set up 1099 Parameter Records
Use the options in the 1099 Set-Up section of the 1099 Processing page to create setup records for 1099 processing. Setup records contain your organization's information and 1099 Type information to associate payments with the appropriate boxes on 1099 forms.
Menu path
From the Fund Accounting menu, select Periodic Routines. From the Periodic Processing menu, select 1099 Processing. On the 1099 Processing page, set up the following:
On the 1099-Misc/NEC Setup page, map the Box - Item to the application-assigned 1099 Code. Select the checkbox at the end of the row if you want the amount reported for state income (Box 18).
8. Create 1099 Work File
Use the Create 1099 Work Files page to generate the 1099 work file records from vendor payment data in preparation for printing and filing 1099 tax forms.
Menu path
From the Fund Accounting menu, select Periodic Routines. From the Periodic Processing menu, select 1099 Processing. On the 1099 Processing page, select Create 1099 Work File.
On the Create 1099 Work Files page, refer to Create 1099 Work File, and create the 1099 work file from vendor records based on the 1099 Parameters.
Select Drop Current Records to restart the 1099 work file process. Clear the box to load additional records and update existing records, but retain any vendor records you have added to the work file that do not exist in the Vendor List.
Do not perform this task if the preceding tasks have not been completed.
9. Print 1099 Edit Lists
Use the Print 1099 Edit Lists options on the 1099 Processing page to generate edit lists of records for each 1099 Type to review and change information as needed before printing 1099 forms.
Menu path
From the Fund Accounting menu, select Periodic Routines. From the Periodic Processing menu, select 1099 Processing. On the 1099 Processing page, print the applicable 1099 edit lists:
-
Print 1099-Misc Edit List
-
Print 1099-G Edit List
-
Print 1099-Int Edit List
-
Print 1099-NEC Edit List
Refer to Print 1099 Edit List for more information.
Confirm the 1099 records were created as expected. Edit reports may be run multiple times.
10. Maintain 1099s
Use the Maintain 1099 Work Files options on the 1099 Processing page to add, change, delete, and review the records in your work files.
Menu path
From the Fund Accounting menu, select Periodic Routines. From the Periodic Processing menu, select 1099 Processing. On the 1099 Processing page, access the desired 1099 vendor records, if needed, for maintenance or query:
If the Edit Report(s) includes inaccuracies, changes can be made in two ways:
-
Modify the 1099 transactions using the Maintain 1099-XXX Work Files options on the 1099 Processing page. These changes only update the 1099 work file (not the vendor records).
-
Modify the vendor and/or Accounts Payable records directly and then recreate the 1099 Work Files.
Contact PowerSchool Support for assistance.
If checks must be printed for 2025 before 1099 processing is completed, proceed to 1099 Calendar Year End.
Verify on PowerSchool Community that all state requirements have been updated before generating the electronic file or printing the forms.
11. Print 1099s
Use the Print 1099 Forms options on the 1099 Processing page to:
-
Use a separate print option for generating forms for each 1099 Type.
-
Generate forms for all vendors, selected vendors, or an individual vendor.
-
Print forms at six lines per inch.
-
Use a restart option if a printer error occurs.
-
Print various types of forms, including pressure-seal and laser-printed forms.
-
Specify one-sided or two-sided pre-printed forms. However, you must have a duplex printer to generate two-sided forms.
Menu path
From the Fund Accounting menu, select Periodic Routines. From the Periodic Processing menu, select 1099 Processing. On the 1099 Processing page, print the desired 1099 forms for Vendors, Payors, and IRS (if applicable):
-
Print 1099-Misc Forms
-
Print 1099-G Forms
-
Print 1099-Int Forms
-
Print 1099-NEC Forms
Refer to Print 1099 Forms for more information.
The default format of the 1099 Forms follows the IRS standard.
12. 1099 Submission
You can submit 1099 forms in the following ways:
-
Submit via Paper: If submitting 1099 information to the IRS via paper documentation, generate the appropriate forms and reports.
-
Submit Electronically: If submitting electronically to the IRS, proceed to Generate 1099 Electronic File.
13. Generate 1099 Electronic File
Use the Generate 1099 Electronic File options on the 1099 Processing page to create electronic files of your 1099 data for submission to the IRS.
Menu path
From the Fund Accounting menu, select Periodic Routines. From the Periodic Processing menu, select 1099 Processing.
-
On the 1099 Processing page, refer to Generate 1099 Electronic File, and use the following options to generate the electronic files:
-
Generate 1099-Misc Electronic File
-
Generate 1099-NEC Electronic File
-
Generate 1099-G Electronic File
-
Generate 1099-Int Electronic File
-
-
In the File Type field, ensure that 1 - Electronic File is selected. The menu path and file name will be similar to the ACH/Direct Deposit/Pre-Note File Format.
-
Refer to View Files and download the files.
In the File Indicator field, O – Original is the default when submitting the first file to the IRS. Select 1 – Omission to send vendors that were added after the original file was submitted to the IRS.
Refer to Generate 1099 Electronic File if submitting corrected 1099s or a replacement file.
14. 1099 Calendar Year End
PowerSchool recommends completing a backup before running the Calendar Year End.
Use the Clear 1099 Amounts page to reset all 1099 year-to-date amounts to zero on vendor and alternate vendor records.
This task is completed once every tax calendar year.
Menu path
From the Fund Accounting menu, select Periodic Routines. From the Periodic Processing menu, select Clear 1099 Amounts.
On the Clear 1099 Amounts page, refer to Clear 1099 Amounts, and reset all 1099 year-to-date amounts to zero on vendor and alternate vendor records.
You can now process the first accounts payable check run of the new calendar year.
-
This task must be run before processing 2026 Accounts Payable Checks or Vouchers that are to be dated on or after 1/1/2026.
-
Do not run the Create 1099 Work File option after this step. The Clear 1099 Amounts process clears all YTD buckets.
15. Print Audit File Listing of Changes
Use the 1099 Processing - Print Audit Listing of Changes page to generate a report of all changes made to the 1099 work files, providing a complete audit trail of modifications.
Menu path
From the Fund Accounting menu, select Periodic Routines. From the Periodic Processing menu, select 1099 Processing. On the 1099 Processing page, select Print Audit Listing of Changes.
On the 1099 Processing - Print Audit Listing of Changes page, refer to Print Audit Listing of Changes, and print a list of changes made to your 1099 work files.
16. Purge Work File
Use the 1099 Processing - Purge Work File page to permanently delete 1099 work file records for a specified tax year or for all years.
This step is not required and is not recommended. PowerSchool recommends retaining work file records for at least one year.
Menu path
From the Fund Accounting menu, select Periodic Routines. From the Periodic Processing menu, select 1099 Processing. On the 1099 Processing page, select Purge Work File.
On the 1099 Processing - Purge Work File page, refer to Purge Work File, and purge past work files.
17. Purge Audit File
Use the 1099 Processing - Purge Audit File page to permanently delete 1099 audit trail records for a specified tax year or for all years.
This step is not required and is not recommended. PowerSchool recommends retaining audit file records for at least one year.
Menu path
From the Fund Accounting menu, select Periodic Routines. From the Periodic Processing menu, select 1099 Processing. On the 1099 Processing page, select Purge Audit File.
On the 1099 Processing - Purge Audit File page, refer to Purge Audit File, and purge records in the 1099 Audit table for a specified year.